
How to Create Ecommerce Website using OpenCart – With the increased digitization and globalization of the economy, every company needs an online platform. E-commerce OpenCart Stores enables businesses to sell products across the globe, increase revenues, and provide an efficient shopping channel to customers. Open-source e-commerce solutions like the OpenCart platform allow businesses to create and operate their online shops without any hassle. This tutorial describes the sequence of steps necessary for creating an e-commerce platform opened using Shopping Cart Open Source Software called OpenCart.
What is OpenCart?
OpenCart is one of the widely used, free-to-download, and open-source platforms on the Internet. OpenCart offers great flexibility and convenience in creating and running online stores. It is written in PHP language and the data is stored in MySQL Server. One of the key characteristics of OpenCart is it has a very liberal licensing policy. In addition to that OpenCart is user-friendly and has a variety of features such as:
Plan Your E-Commerce Website
Take time to plan the e-commerce store before delving deeper into the technical details of creating the website. Make notes like these to refer back to:
Determine Your Niche: Select the products or services that you would wish to market and sell. Understand your potential clients and rivals to locate market opportunities.
Pick a Domain Name: Pick a brand-relevant and catchy domain name. Make sure that it is simple to pronounce and associated with your business.
Choose a Hosting Provider: You must select a good hosting provider. Make sure they provide quality service, security, and support. OpenCart requires hosts that have PHP and MySql.
Design Your Store Layout: Plan out the design of your website. This includes the homepage, various product or service categories, product specifics, and the checkout area.
Configure the Hosting Service and Domain
Setting up the hosting and domain comes next after planning the website layout.
Purchase Your Domain: You can now get your domain from your hosting service or a domain registrar.
Select a Hosting Plan: Match the hosting plan to your specific requirements. To simplify the installation process, many service providers now include one-click OpenCart installations.
Link Your Domain to Hosting: To do this, change the information on your domain to reference the servers of your hosting provider.
Installing OpenCart
Now that you have a domain and hosting, you are ready to install OpenCart.
Download OpenCart: The latest version of the software can be downloaded at the official OpenCart website located at https://www.opencart.com).
Upload Files to Your Server: You can use an FTP client like FileZilla to upload the OpenCart files to your Hosting server. Some hosting servers have a file manager in their control panel from which you can upload files directly.
Create a MySQL Database: Login to your hosting control panel (like cPanel) and create a new MYSQL Database with a user for it. Remember to write down the database name, username, and password.
Run the OpenCart Installer: Use your browser to browse your domain like so: https://www.yourdomain.com. The OpenCart installer will assist you throughout the entire process. Provide the database information and set up your admin account.
Complete the Installation: For security purposes, once installation is done, you should delete the install folder from your server.
Configure your OpenCart Store
Once OpenCart has been installed, you have to modify the store configuration settings.
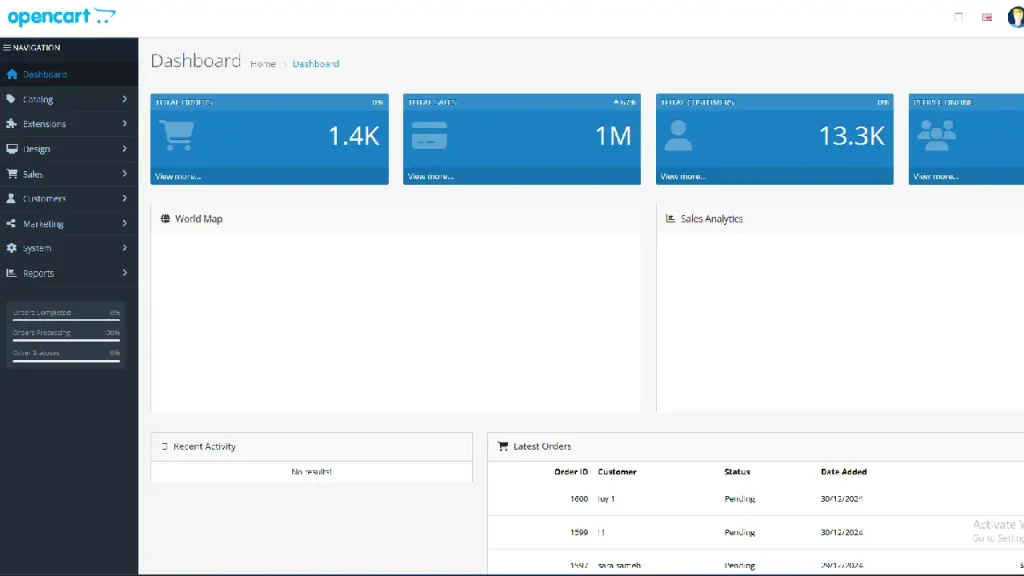
Log in to the Admin Panel: Log in at www.yourdomain.com/admin with your username and password.
Add Basic Business Info: Click on System> Settings> Edit and fill in your store name, store address, email, and other information your business entity may have.
Set Default Language and Currency: Go to System > Localisation > Currencies/Languages and set default currency and language. Add any other languages or currencies that you require.
Set Up Shipping and Payment Options: Go to Extensions > Payments/Shipping. Enable any payment or shipping methods you desire (e.g. PayPal, credit card, flat rate shipping).
Set Up Tax Rates: Define your tax rates and rules via System > Localisation > Taxes.
Set Up Store Design
Store Design also has free and paid themes that are available for customization within OpenCart on the store.
Choose a Theme: Review the OpenCart Marketplace or external sites for themes and designs that correspond to your brand. Then download them and upload or install them from the admin panel (Extensions > Installer) on the website.
Install and Configure Theme: After uploading the theme, go to Extensions > Themes and set the uploaded theme as default for your store.
Customize the Layout: Use Design > Layouts to define the layout of your homepage, product pages, and other pages. Adjust the homepage and other layouts as desired.
Integrate a logo and a favicon – to upload a logo, go to system> settings> edit> store and upload a favicon and logo.
you can now add products to your store.
The store is set up for products now. To add products, follow these steps:
Create categories – to make categorizations for your products, go to catalog> categories> add new.
Add products – to add new products, go to catalog> products> add new. Fill in the details, which include product name, description, price, and images.
Set product options – go to the options tab to set the product options like size, color, quantity, etc.
Manage inventory – set stock levels, SKU, and other inventory details using the data tab.
You can also Set up Extensions and Modules
Open Cart can also be extended using the plugins and modules.
These can come in various forms such as payment gateways, additional shipping methods, SEOs, etc.
Browse the extension marketplace – openings extensions marketplace to find extensions that you prefer.
Install extensions– you can download and install them with your admin panel (extensions> installer).
Configure extensions – after doing that, you can change the settings under extensions> extensions.
you can further customize your store by optimizing it for SEO
which we will go into depth later.
Enable SEO freundlich: Log into your System then Settings, then Edit, then Server. Turn on SEO’s friendly URLs.
Add the Meta Tags: Add your titles, descriptions, and keywords for your products and categories in Catalog/Products/Categories.
Submit the Sitemap: Create and submit your sitemap to search engines like Google to enhance their crawling and indexing of the site.

Check your Store
Make sure to check your store’s functionality before proceeding to open your store.
Try Checkout: Make a test order and check if payment and deliveries run successfully.
Responsive Check: Open the store from different devices and confirm its friendliness to mobile phones.
Troubleshoot: Fix any errors or bugs you find within the testing phase.
Open Your Online Store
Get everything in order, and tested, and you are now welcome to open the store.
Take off Maintenance Mode: Go to System, Settings, Edit, Server, and switch off Maintenance Mode.
Promote: Start attracting clients by advertising on social networks and via emails.
Track Figures: Monitor your sales, website visits, and other activities using OpenCart’s reporting tools.
How to Create Ecommerce Website
Expressing a business through an e-commerce website using OpenCart can be easy if you pay attention to every detail. By using the steps presented in this guide, you will be able to create a viable online store that works as per your business requirements. The vast features and flexibility offered by OpenCart further increase its value for both inexperienced and experienced users. Now that you have your store, you can shift your focus towards expanding the business whilst providing your customers with a smooth shopping experience.
How to Create WordPress Website How to Get Free SSL Certificate for Your Website Best Cache Plugins for WordPress Website Best SEO Plugin for WordPress Website